
Configure campaign mapping in Give Lively's Salesforce integration
Learn how to configure how Give Lively campaigns and events map to Salesforce campaigns
Before you get started
Video Overview
Walkthrough
Before you get started
Video Overview
Walkthrough
Before you get started
Video Overview
Walkthrough
Before You Get Started
Make sure your integration user has the necessary permissions to sync data and create campaigns. Refer to this article for instructions.
Video Overview
Walkthrough
Background
When donations to Give Lively sync over to Salesforce as opportunity records, the opportunities can be associated with Salesforce campaigns. Whereas earlier versions of Give Lively’s Salesforce integration automatically created and mapped like-named campaigns, the newest update to the integration allows greater user choice when creating and mapping campaigns in Salesforce.
Configure Salesforce mapping as you create new Give Lively campaigns
This process can also be used to configure Salesforce mapping as you create new Give Lively events.
- Log in to the Give Lively Nonprofit Admin Portal.
- Click "Campaign Pages" in the left-hand navigation bar and then click the "Create Campaign" button. Provide a name for your campaign in the space provided, then click "Next". You will then see a new screen.
- If you don’t see “Salesforce Mapping” in the tabs on the left, make sure you have completed the steps to integrate Give Lively with Salesforce.
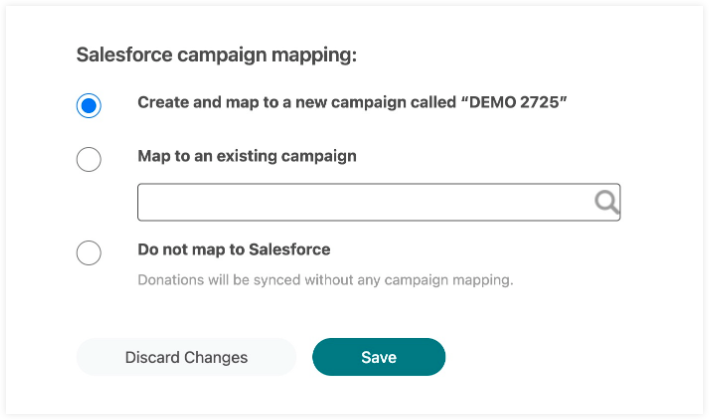
- Select the first option (see image above) to create a new campaign in Salesforce using the campaign name or event name you just chose, and associate it with incoming donations.
- Select the second option to map to an existing campaign in your Salesforce org.
- Select the third option to omit campaign mapping. This means opportunities will be created without any campaign association.
Re-mapping an existing campaign
This process can also be used to re-map existing events.
- Log in to the Give Lively Nonprofit Admin Portal.
- Click "Campaign Pages" or "Event Ticketing" in the left-hand navigation bar, then "Salesforce Mapping" in the tabs on the left.
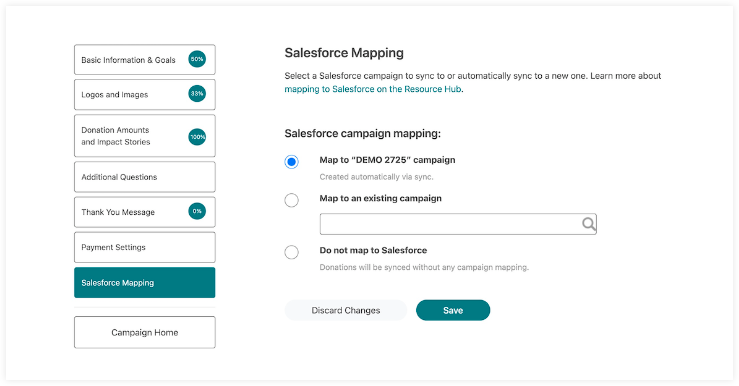
- Select the first option to map to a like-named Salesforce campaign created via the integration sync process.
- Select the second option to map to an existing campaign in your Salesforce org.
- Select the third option to omit campaign mapping. This means opportunities will be created without any campaign association.
Important notes
- All changes to mapping for existing campaigns and events will apply going forward but will not retroactively update the campaign association of previously synced donations.
