
View and configure settings for Give Lively's Salesforce integration
A walkthrough of the features in the Nonprofit Admin Portal available for Give Lively’s Salesforce integration.
Before you get started
Video Overview
Walkthrough
Before you get started
Video Overview
Walkthrough
Before you get started
Video Overview
Walkthrough
Before You Get Started
Be sure you have completed the steps to connect Give Lively to your Salesforce org.
Video Overview
Walkthrough
Salesforce integration landing page
Once the integration is live, the "Integrations" landing page will show the status of the Salesforce connection and provide access to several administrative tools.
Navigate to the "Organizations Settings" tab and click on the “Integrations” sub-tab on the left side to see the following:
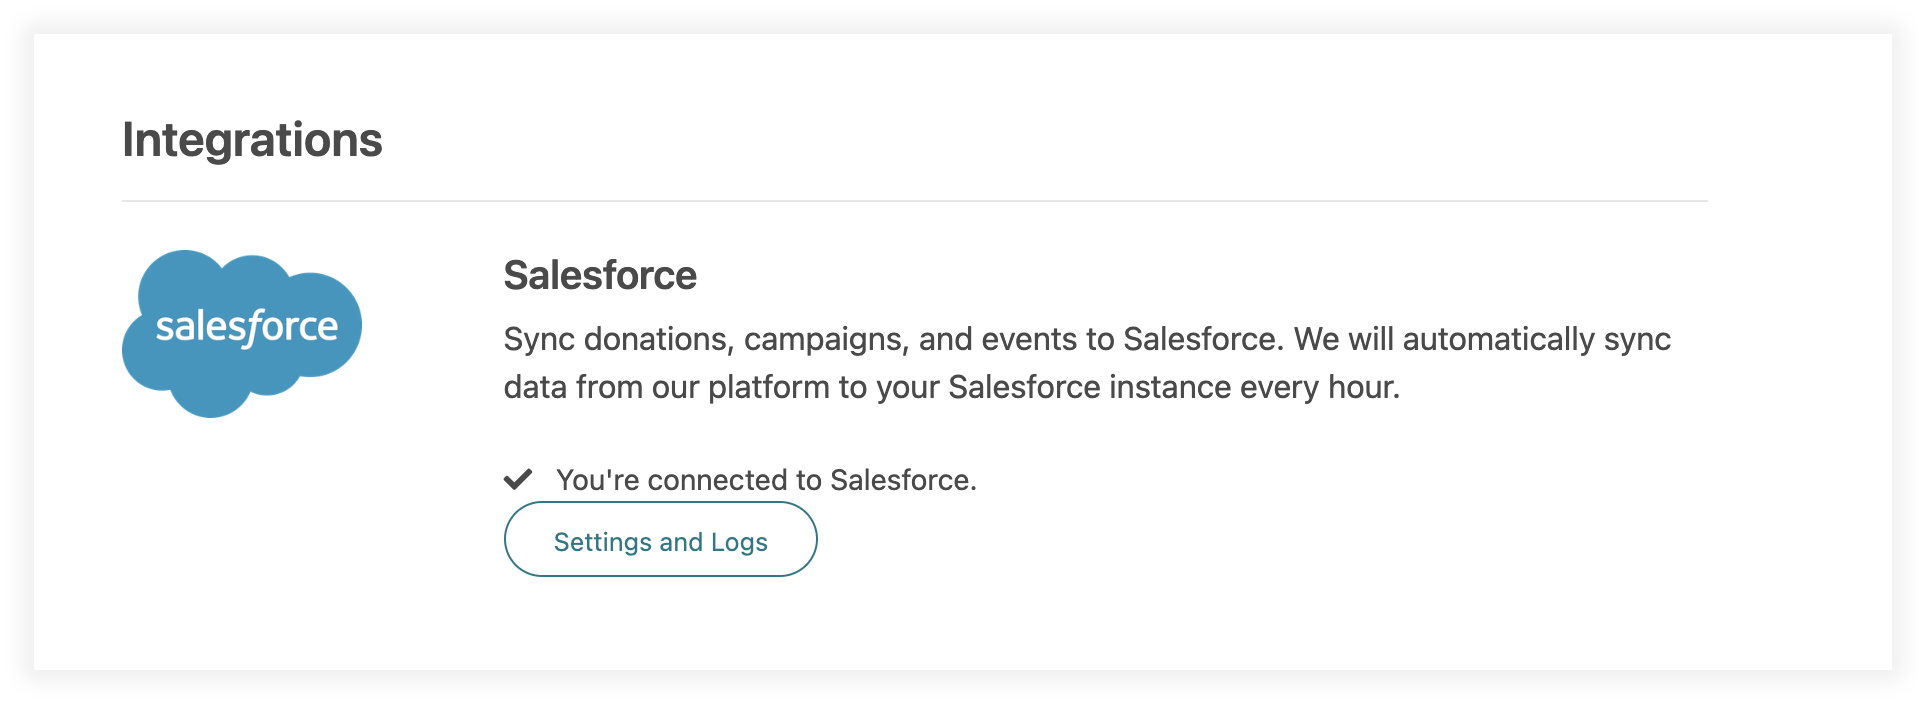
- Go To Salesforce Settings and Logs - Click here to access field mapping settings as well as sync logs for donations and more.
- Sync to Salesforce - Members can use a toggle to disable/enable hourly syncing as desired. Members have the option to manually trigger a sync by using this button.
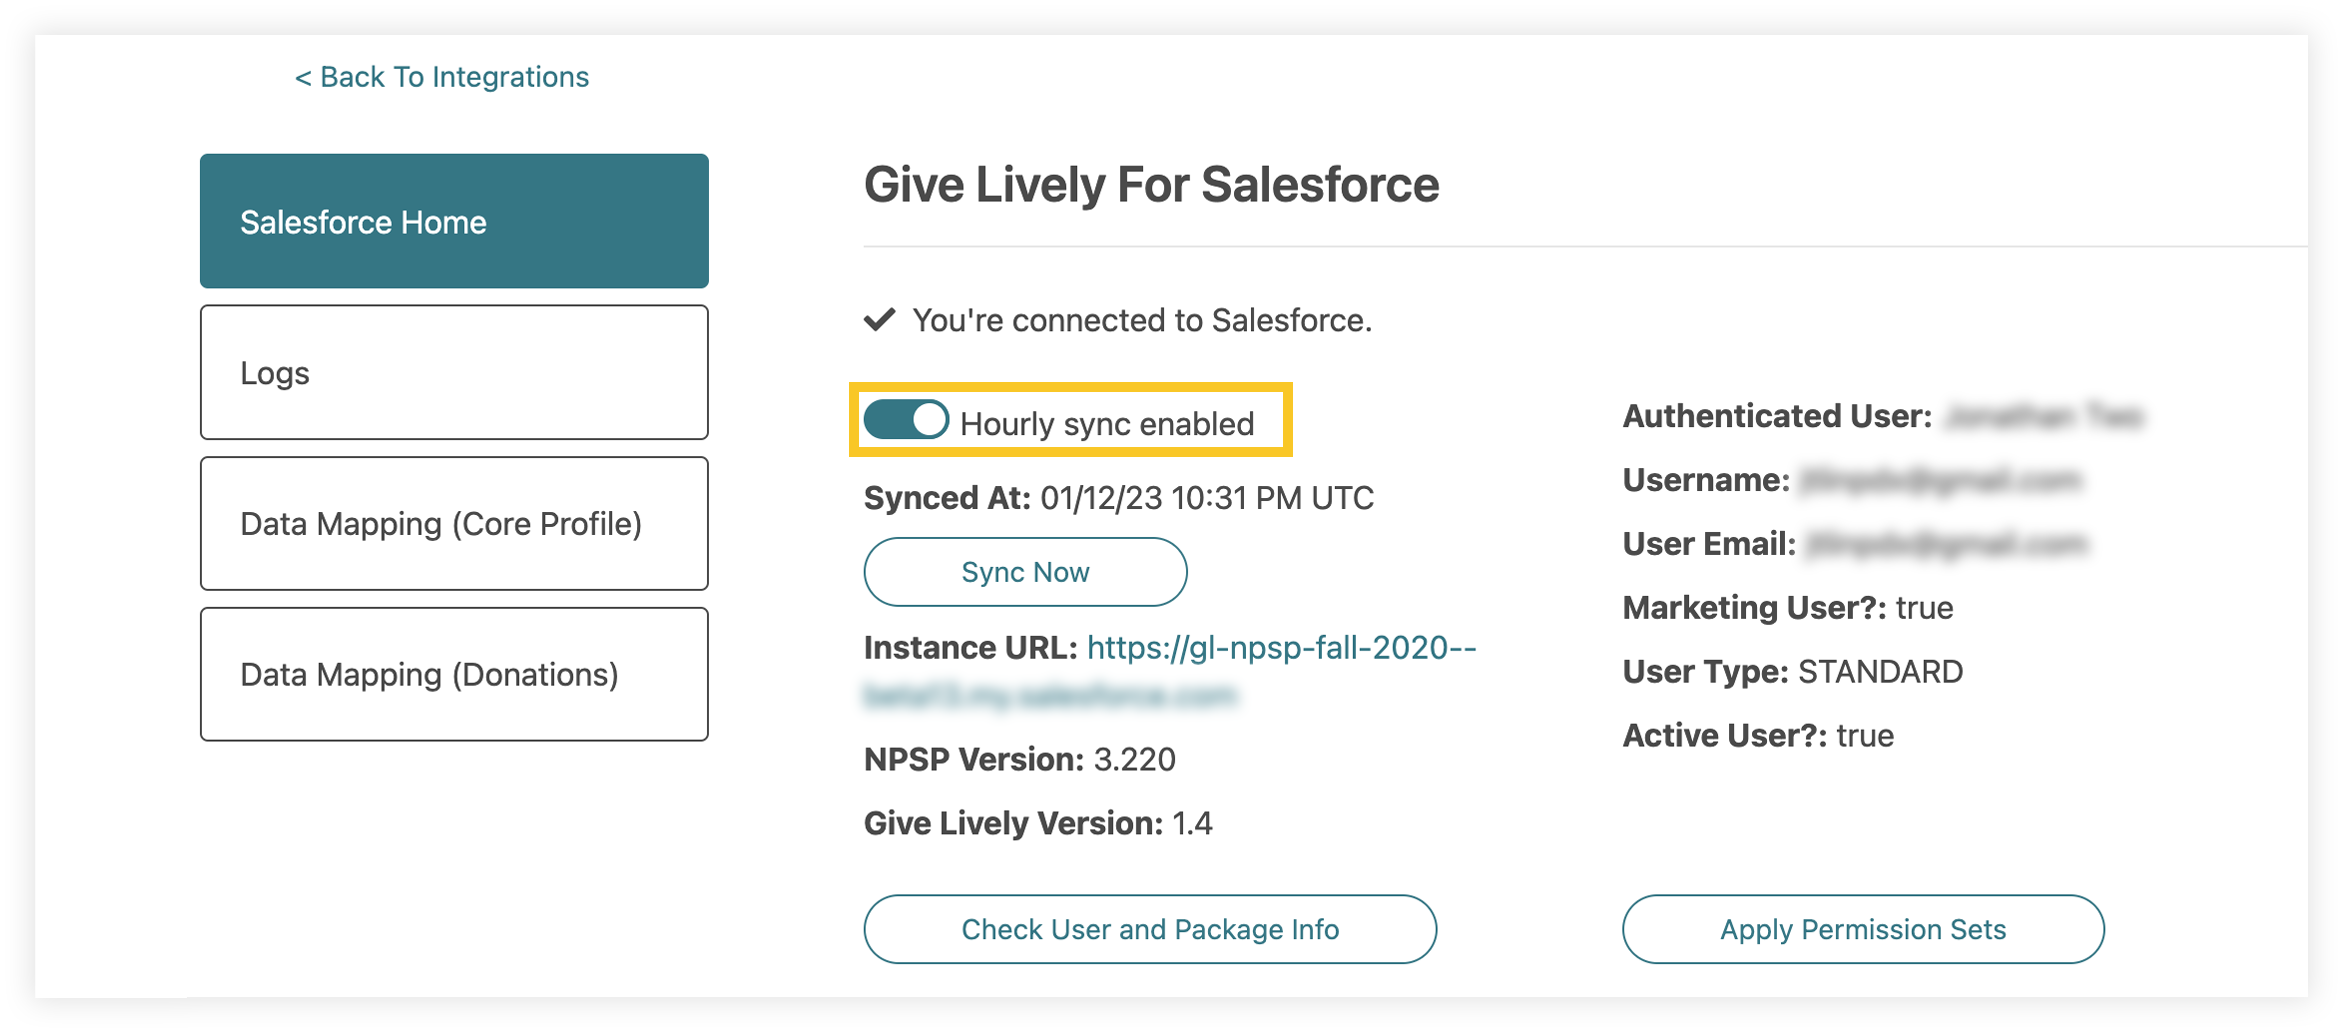
Salesforce home
The "Salesforce Home" tab for the Salesforce integration shows details about the nonprofit organization as well as the connected user. Click the "Check User and Package Info" button to refresh information. Click the “Apply Permission Sets” button to ensure the authenticated user has all the necessary permissions for syncing data. Members can use the toggle to disable/enable hourly syncing as desired, or trigger a sync by clicking "Sync Now".
Danger zone
Click the red "Expand" button to expose a pair of powerful administrative tools. Use with caution.
- Clear Salesforce OAuth and Instance Information - Press the "Clear Salesforce Credentials" button to completely disconnect Give Lively from your Salesforce org. Doing so allows you to reconnect with a different Salesforce user from the same org (e.g., if the prior integration user becomes inactive) or to a user from a different Salesforce org. If you connect to a different Salesforce org without first clearing all Salesforce IDs from our system, this will lead to cross-reference entity errors and other abandoned/out-of-sync record issues which are not recoverable.

- Clear Salesforce IDs - This clears all Salesforce IDs in the Give Lively system (donations, campaigns, events, tickets, and ticket tiers). These records will be re-synced on the next cycle. Only do this if you're testing sandboxes or syncing to a new fresh Salesforce instance. Do not clear Salesforce IDs unless you know what you're doing. Reach out to our support+salesforce@givelively.org team for more information.

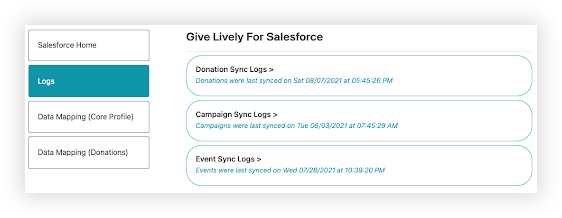
Logs
The integration sync logs show a record of every donation, campaign and event that Give Lively has attempted to sync to Salesforce. If errors occur during syncs, they will be recorded in the rightmost columns.
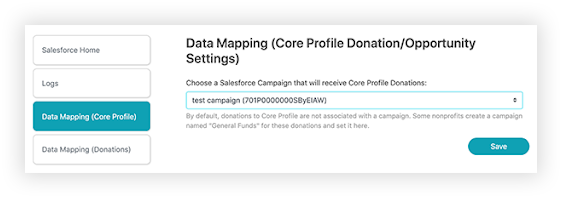
Data mapping (Core Profile)
Control data mapping settings for the Core Profile. This allows members to select a default campaign for all general fund (Core Profile) donations.
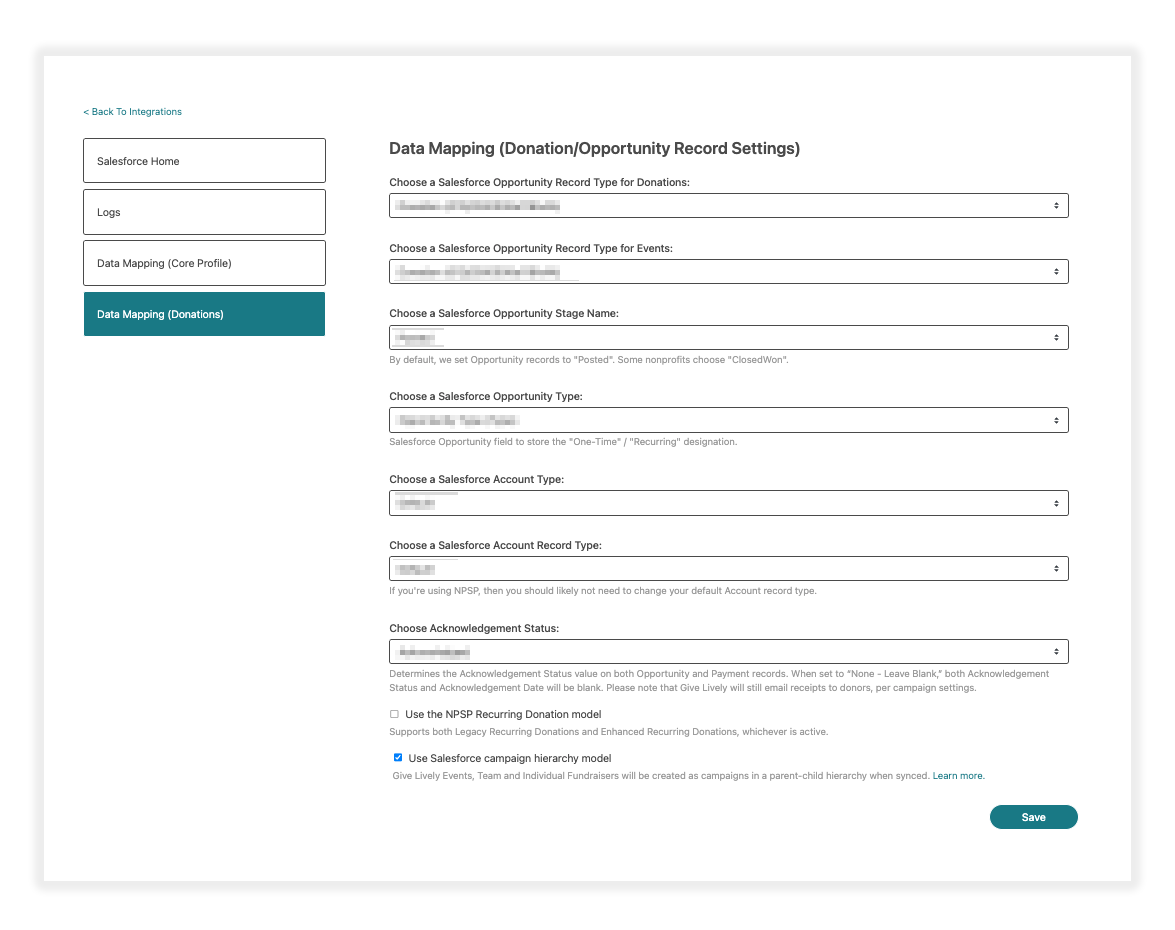
Data mapping (donations)
Control data mapping for several synced fields.
- Choose a Salesforce Opportunity Record Type - This allows an administrator to pick among available record types in the org. We recommend selecting the type mostly commonly assigned for donations.
- Choose a Salesforce Opportunity Stage Name - By default, we set Opportunity records to "Posted". Some nonprofits may prefer "Closed Won" or even a different custom value.
- Choose a Salesforce Opportunity Type Field - This records the donation frequency of “One-Time”/“Recurring”/”Event Purchase”. We recommend the stock Opportunity Type field.
- Choose a Salesforce Account Type - This allows an administrator to select a type value for the account associated with a donor's contact record. Choose whatever option best matches the concept of a household or individual.
- Choose a Salesforce Account Record Type - We recommend selecting "Household Account" for organizations using the Salesforce Nonprofit Success Pack (NPSP).
- Choose Acknowledgment Status - Sets the Acknowledgement Status value on both Opportunity and Payment records. When “None - Leave Blank” is selected, both Acknowledgement Status and Acknowledgement Date will be left blank.
- Use the NPSP Recurring Donation model - When enabled, Recurring Donation records will be created for monthly donors. Use Nonprofit Success Pack (NPSP) Recurring Donations in Give Lively's Salesforce app.
- Use Salesforce campaign hierarchy model - When enabled, campaigns, events, P2P and Team fundraisers will sync in a nested hierarchical structure. Enable campaign hierarchy in Give Lively's Salesforce integration.
Sync error alerts
Members have the option to opt into alert emails that include a daily digest of any sync errors that occurred in the previous day. To receive alerts, navigate to the "Organizations Settings" tab and click on the “Users” sub-tab on the left side. Opt in by clicking the box next to each user labeled “Salesforce Alerts”.
